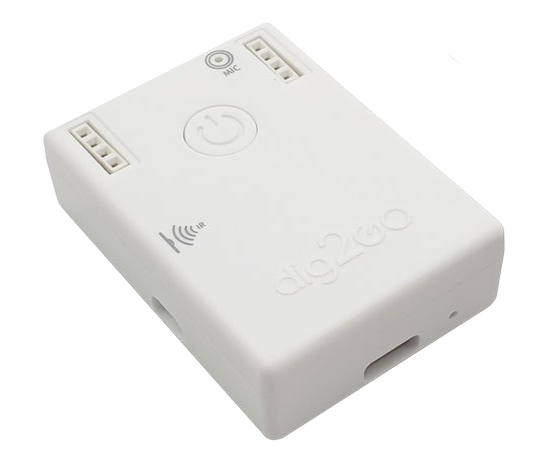
You just received your dig2go
If you’ve just received your new dig2go there are a few easy steps to follow to get you up and running! The device comes pre-configured out of the box so it’s just a question of plugging it in and go but let’s go through that together.
Step 1. Providing power
First the dig2go controller box will need power, the controller takes standard USB-C the same as any modern (except apple) phone, laptop or tablet!
If you have an included adapter and cable bundle, that’s easy, all connections are made in such a way that you can only plug it in correctly!
If you wish to use your own adapter and cable this is fine too, generally USB-C adapters are able to provide a bit more power (the dig2go will use up to 15w). The same goes for the cable, get an appropriate cable from USB-A to USB-C or from USB-C to USB-C and make sure it’s capable of 3Amps, the longer the cable is the more important it is to use a good quality USB cable!
Once the dig2go powers on there will be a little green light that turns on next to the USB-C socket.

Step 2. Connecting the lights
Once we know power works we’re ready to plug in your LED strip or string! If you bought a bundle that has them included you are set, if not, take a look at my Addressable LED guide over here. (remember the dig2go is only 5v compatible!)
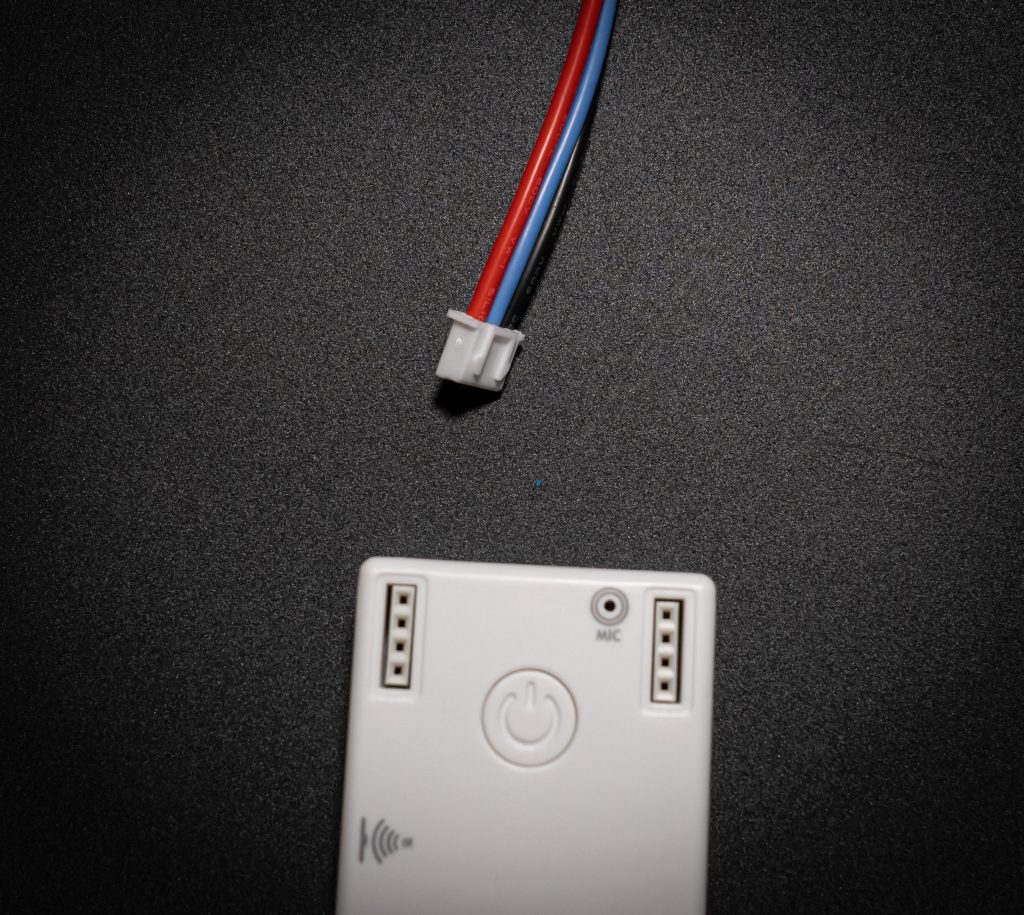
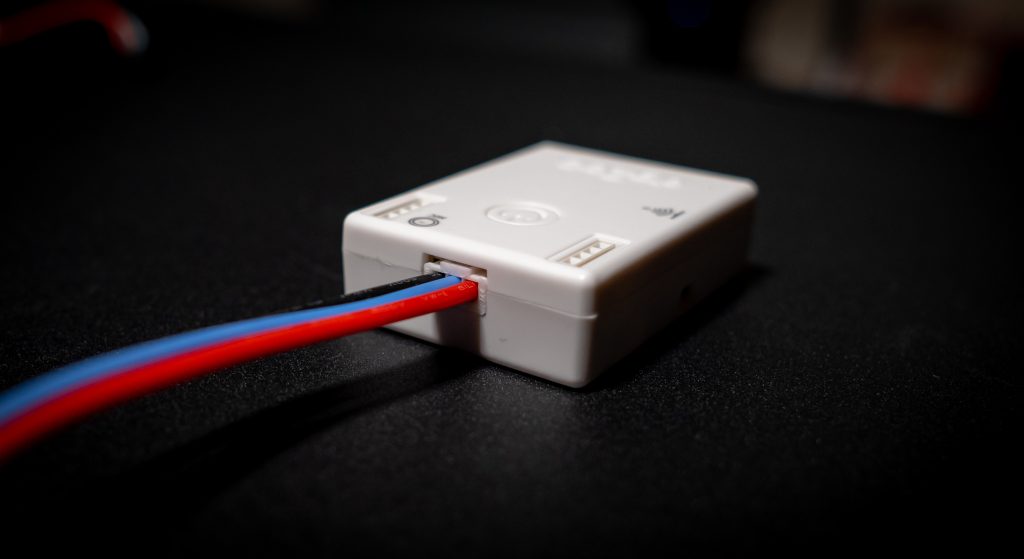
Connecting the LED strips is also as easy as it seems! The strips/strings come with something called a (black) “JST” connector. Your dig2go comes with a little pigtail cable to which you can directly connect that JST connector.
Plug the LED strip into the pigtail cable and plug this cable into the dig2go unit and then power it on! The LED strip should immediately light up in a pleasant orange color. If they don’t light up in orange: Please see the point “The colors on my LED strip are wrong” under “Troubleshooting” after you have completed all the steps below!


Step 3. Connecting the module to Wi-Fi
The dig2go comes with WLED pre-installed, which gives you the best experience to control your LEDs colors and effects. To reach the WLED interface, we first have to connect to Wi-Fi.
Once the module is powered up you can now either control it directly over Wi-Fi or connect it to your Home Network so you can use it from any device on your network.
No matter which path you choose, we first need to connect to the dig2go. Look for a Wi-Fi network called “WLED-AP” using your laptop or phone and join it. The password for WLED-AP is “wled1234”. Once you are connected your phone or laptop should prompt it wants to open a web page, if not open a web browser and go to “4.3.2.1” as the address. That should show you the following screen:
[initial WLED page]
In stand-alone mode you connect to the dig2go without hooking it up to your home network. To use this mode, simply now click on “To the Controls” button and you then have full control over WLED and all of it’s functions!
Most people however will join the dig2go to their home network so that they can control it from any device on the network. To use this mode, click on “WiFi Settings”.
There you either scan for your home network name or type it in and also fill in the password field of your network and then hit save. Please note that only 2.4GHz networks are supported, but no 5GHz! Once you’ve done that the module will connect directly to your network and your device (phone, tablet or laptop) should disconnect from WLED-AP and join the known network again.
[WIFI DETAILS]
Step 4. Using the WLED app
Once the dig2go running WLED has joined your network there are several ways to use it.
The easiest way to use your dig2go with WLED is using the WLED app. This app can be found both on the Google Play Store as on the Apple App Store.
[photo of google play store]
Once installed, on the right top side of the app hit the “+” button and search for devices. If both the dig2go and smartphone you are using are connected to the same network it should find the dig2go and add it to your list. Stop scanning, hit ok in the top right corner again and it should be available by just clicking on the desired module.
[WLED app list]
To use the dig2go running WLED with a web browser we first have to know the IP of the module. You can check your router to see which IP the module received or use the WLED app to scan for it. Another more advanced method is to use an IP scanner from a laptop and search for the module (it has port 80 open).
Once you know the IP address you simply type this address in your web browser bar and the WLED interface should pop-up automatically.
[photo of WLED interface in web browser]
You are done, enjoy!

Optional extra steps and information
The dig2go by default comes configured with a 1250mAmps power limiter enabled. With this in place most adapters you are going to try to use with the module will work!
If you connect a good quality high power adapter (5v 3Amps – 15w recommended) you can allow the dig2go to draw more power!
To do so I recommend configuring the power limiter to 3000mAmps together with “efficient 5v” LEDs like in the screenshot below. To do this, go to Config -> LED Preferences where you will find the power limiter setting ontop.
If you however experience the dig2go rebooting or the colors being off on your LED strip the power adapter likely cannot handle the load and I recommend lowering the maximum amount WLED (the software) is allowed to use.
[screenshot of power limiter]
To use the built-in Microphone go to Config -> Usermods and enable the “audio reactive” plugin. Save and disconnect power. After powering up again the microphone will be active!
Advanced: If you are configuring your own build of WLED, please make sure it includes the “AudioReactive” usermod and use the below configuration:

The built-in digital microphone of the dig2go is set to default values in regards to reacting to sound. If you however want it to react quicker or you are in a noisy environment and want it to react only with bigger noises you can change the following settings in the Config -> Usermods -> AudioReactive.
(Please make sure that the dig2go is on at least WLED v0.14-b[x] with the AudioReactive mod compiled in. If you don’t know what that means and you can’t find the below mentioned settings, please refer to “Resetting/Reinstalling the WLED software” below)

The Squelch and Gain factors are the values to tune.
Squelch determines how much of the low volume sound are ignored, this is meant to make sure that the audio reactive effects don’t respond to very low volume noises.
Gain makes the Microphone more or less sensitive. The 30 value is the default value and it basically means a boost of “1”. Adjust the value to best work for your environment.
The dig2go comes delivered with the popular WLED software pre-installed! Pre-configured images of this software for the dig2go are available on https://install.quinled.info.
That said the dig2go is a box with an ESP32 inside and leaves all functionality such as flashing firmware fully open. You are welcome to run your own software on the dig2go as you please! Please see the pinout guide here for all GPIOs used!
Yes, no problem!
We do advise to use the web flasher at https://install.quinled.info and flash it using USB because of the change of firmware. Doing OTA between these 2 different versions can create unexpected and undesired behavior.
Using the USB flash first erases the dig2go and then flashes a fresh and fully pre-configured version of WLED onto your device in just a few minutes! Future updates should have less issues doing so OTA.
All guides are written for the WLED v14 version!
Troubleshooting
If you see the green power light on the dig2go flicker on and off it generally means the USB adapter or power bank you have connected it to cannot provide the current required.
If this happens while turning on, try using a different adapter or power bank, preferably rated at 5v 3Amps.
If this happens while it’s been running and you see the LEDs turn on try lowering the WLED power limit as described above.
These are generally the easiest steps to find the dig2go on your network:
- Using the WLED app
- Using the WLED app on your phone connected to the same wireless network you should easily be able to find the dig2go using the scanning function built into the app
- Looking for it in your Router
- Your Wireless router gives the dig2go it’s IP so it should keep a log of which IP it gave the dig2go or often there is a list of “DHCP Clients” and the dig2go should be listed there
- Using an IP scanner
- Using your phone or PC download an IP scanner application, for PC I recommend the “angry IP scanner” as an open source and free tool
- Using this tool scan your network IP range for any devices that have port 80 open. This is the port the WLED web server runs on. Check all the devices it finds and one of them should be the dig2go!
No worries, likely a version was flashed that wasn’t pre-configured for the dig2go. You can visit the pinout guide here to configure everything manually (don’t forget the relay setting!) or you can download and flash a pre-configured version below!
If you wish to cleanly re-install the pre-configured WLED that comes with the dig2go please visit https://install.quinled.info and proceed using the instructions there.
If you are using RGBW LEDs instead of RGB you need to change this in Settings -> LED preferences. There you see the amount of LEDs set and the type and you need to change the type from “ws28xx” to “sk6812”. Save and the change should occur immediately and now the controller knows you have RGBW LEDs connected and controls them correctly!
If the colors you set in WLED do not match the colors on your LED strip, that is because the color order is set wrong in WLED. We can fix this by going to “Config” -> “LED Preferences” and look for “LED outputs”. Under the first output, you should see a dropdown called “Color order”. Select a different value from that list and hit “Save”. Some manufacturers strips specify the color order on the bag. If that’s not the case, just repeat until all three colors (red, green, blue) match.
